

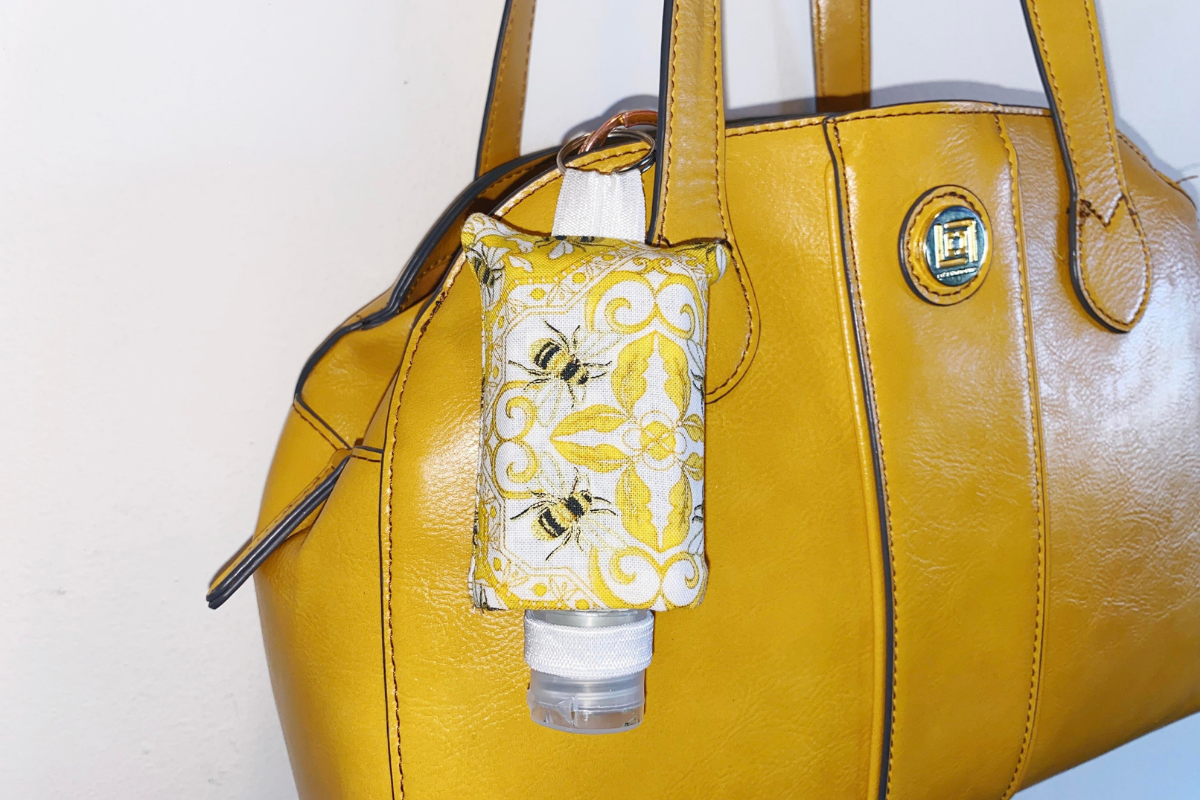
03 May How to Make a Hand Sanitizer Case
So you’re looking for an easy beginner serger project? Well, you have come to the right spot. Today I will be teaching you how to make a super fast and easy hand sanitizer case with your serger.
Hello my Sewing Bees, my name is Sue O’Very-Pruitt owner of Sookie Sews and BERNINA Expert. You can find me on Instagram at @SookieSews, my website SookieSews.com, and on my YouTube Channel SookieSewsTV.com where I have hundreds of sewing projects, machine sewing patterns, embroidery designs and In-the-hoop projects. Ok, let’s get stitching!
Materials and Supplies to Make a Hand Sanitizer Case
Measurements are Width by Height
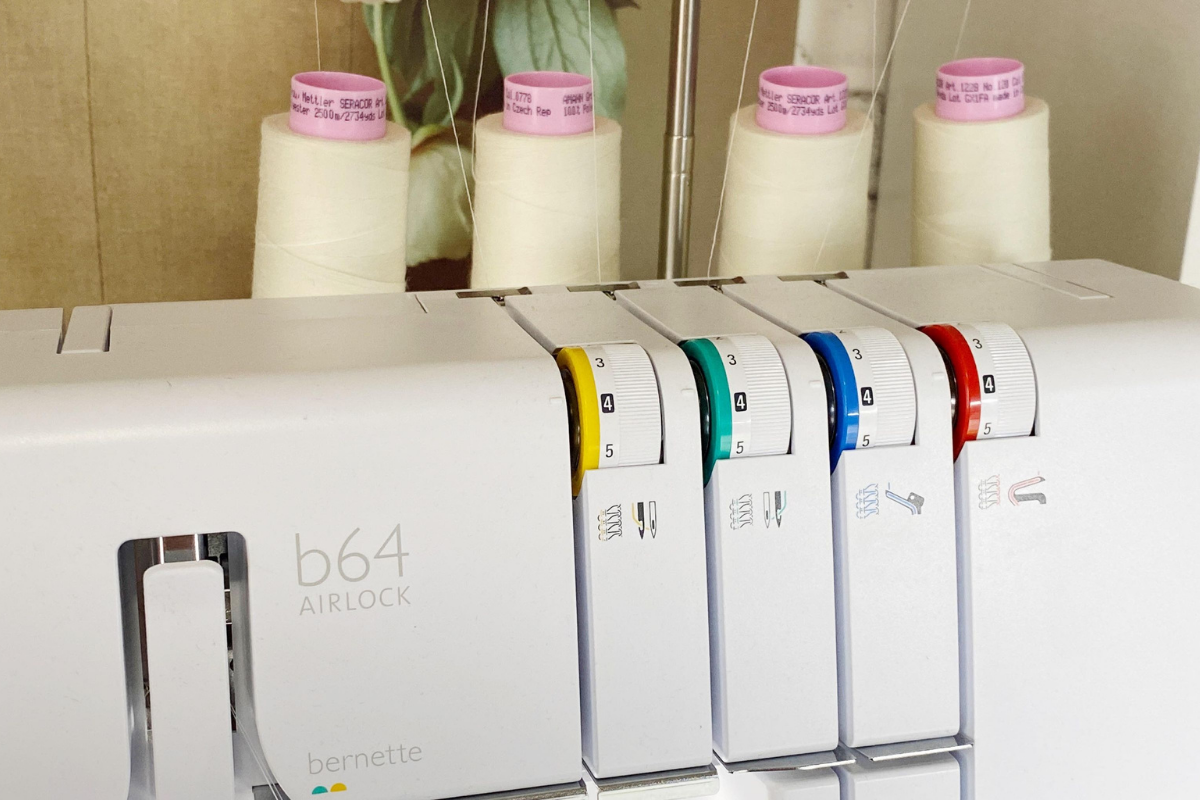
- Serger (I used my bernette 64 AIRLOCK)
- 2oz standard hand sanitizer
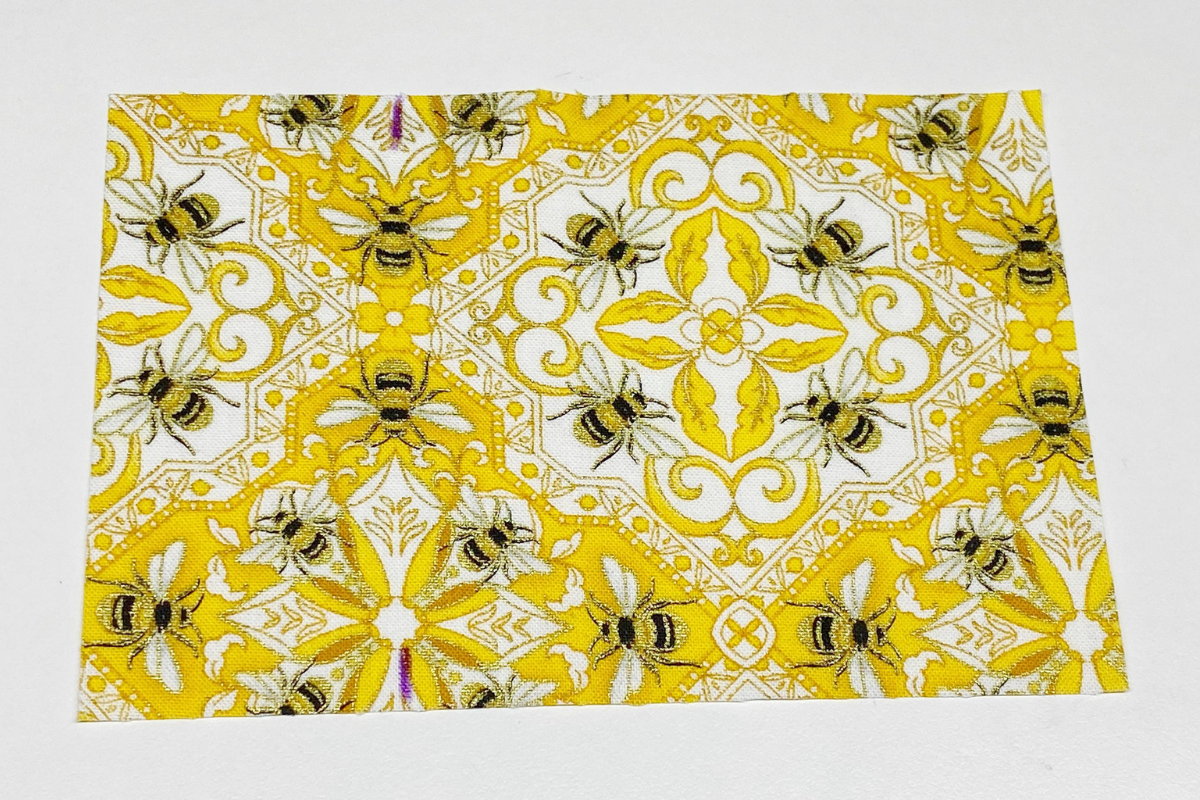
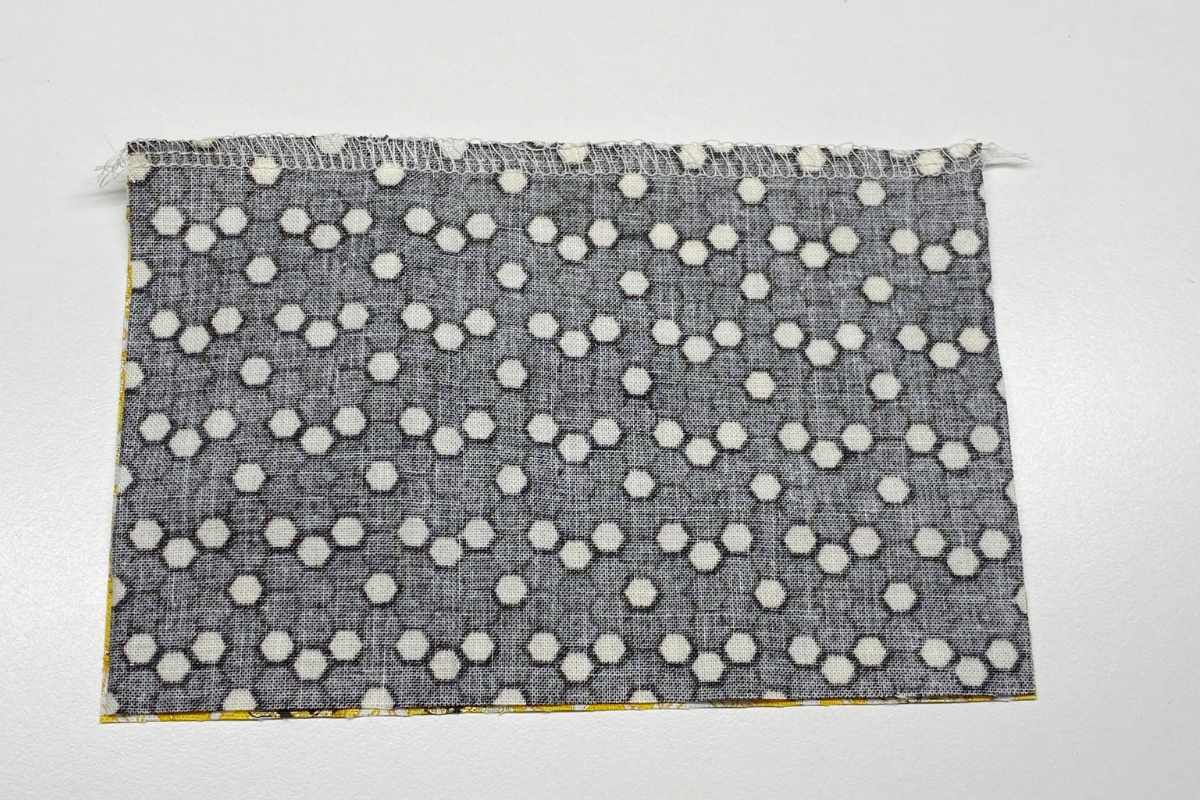
- (2) 6″x4″ Outside and Lining
- Elastic
- (1) 4″ Main Loop
- (1) 2″ Key Ring Loop
- (1) Key ring
- (4) spools standard serger thread
- Wonder Clips
- Ruler
- Marking pen or pencil
- Iron and pressing surface
Steps to Make a Hand Sanitizer Case
- Set the machine up with four standard serger threads and 4-Thread overlock. My tensions were set to 4 for my two needles and two loopers.
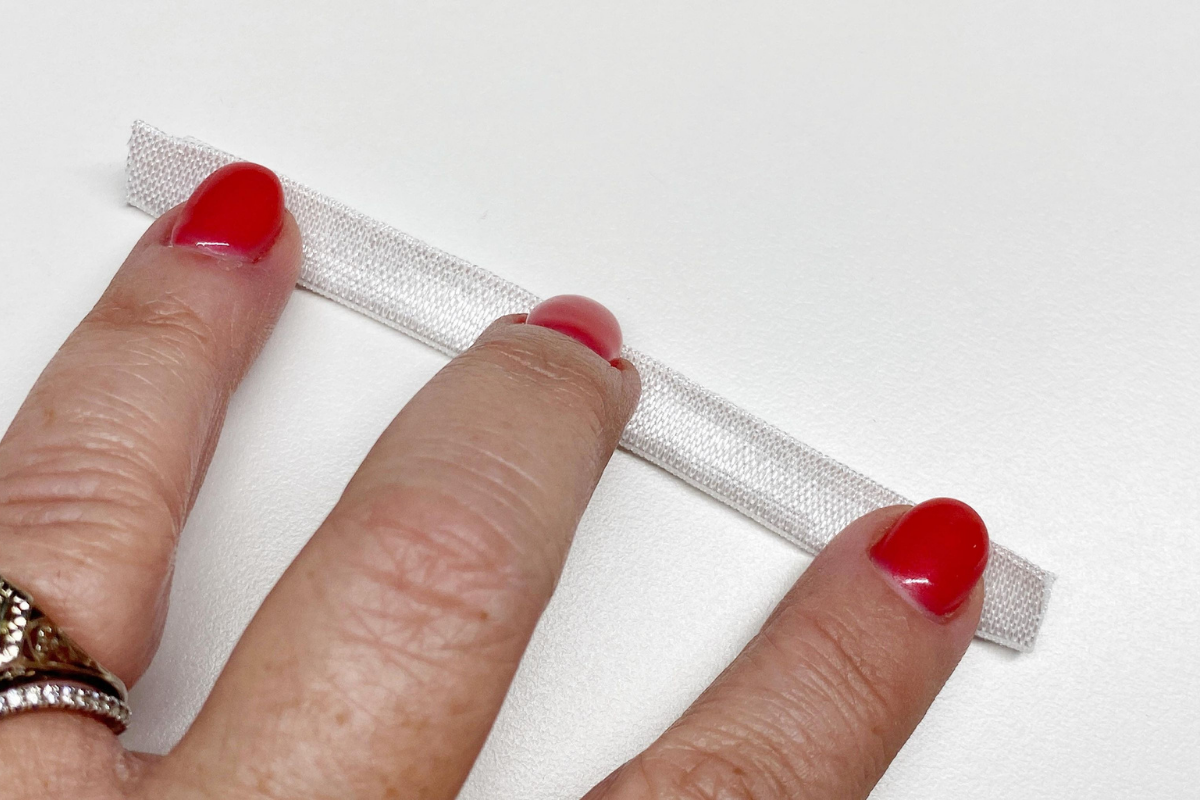
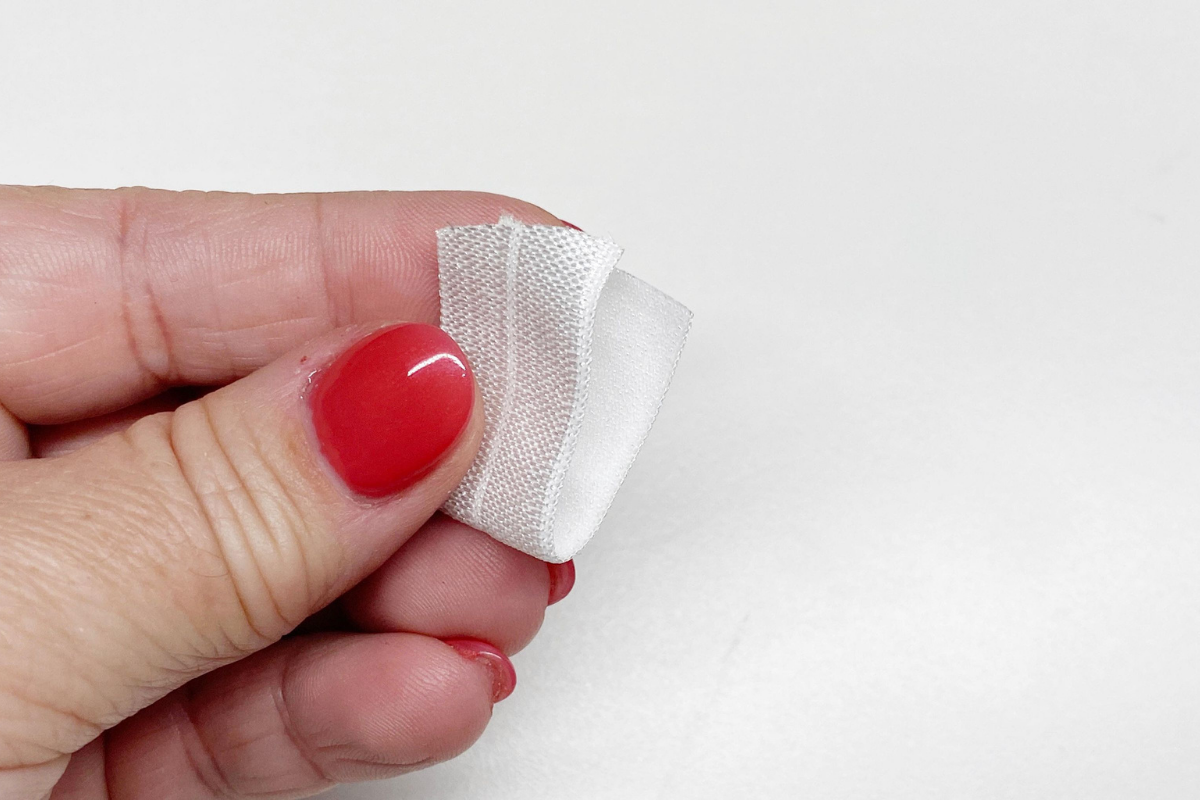
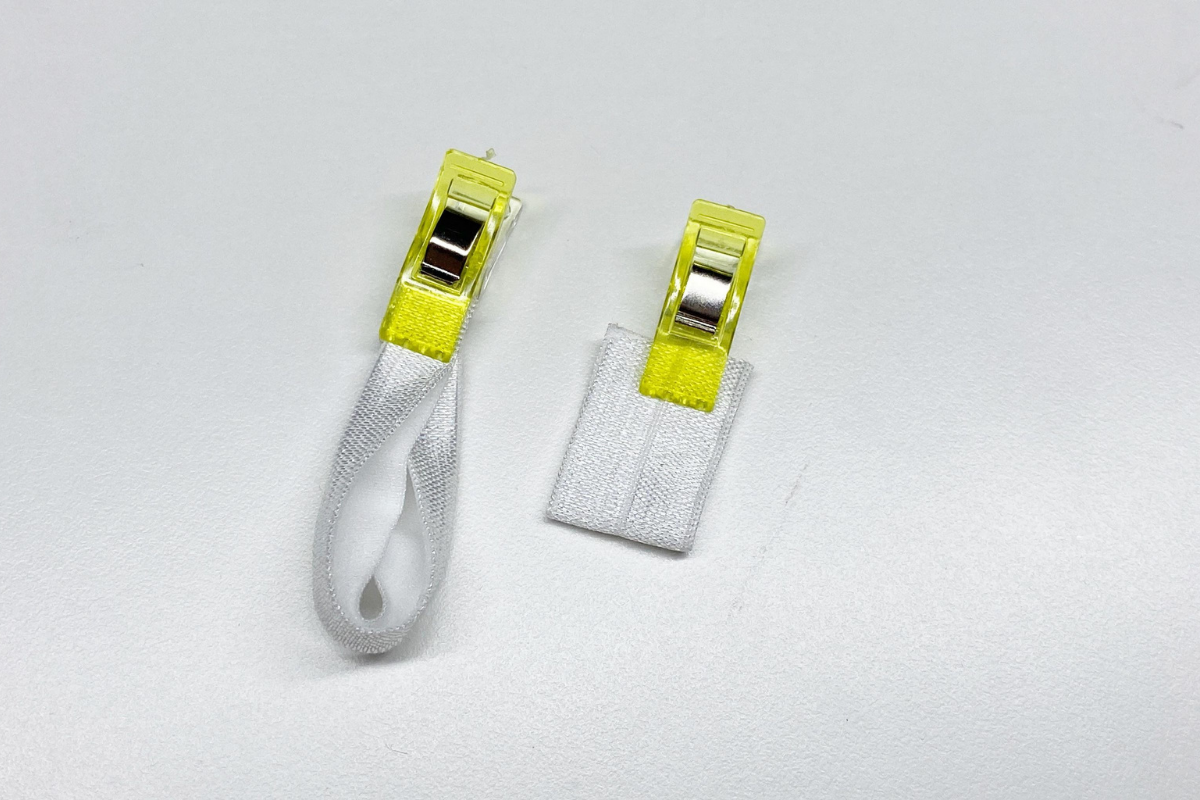
- Fold the 4″ Main Loop piece of elastic in half widthwise on the pre-folded line and then overlap the raw edges and hold together with a clip. Fold the 2″ Key Ring Loop piece of elastic in half lengthwise and hold together with a clip.
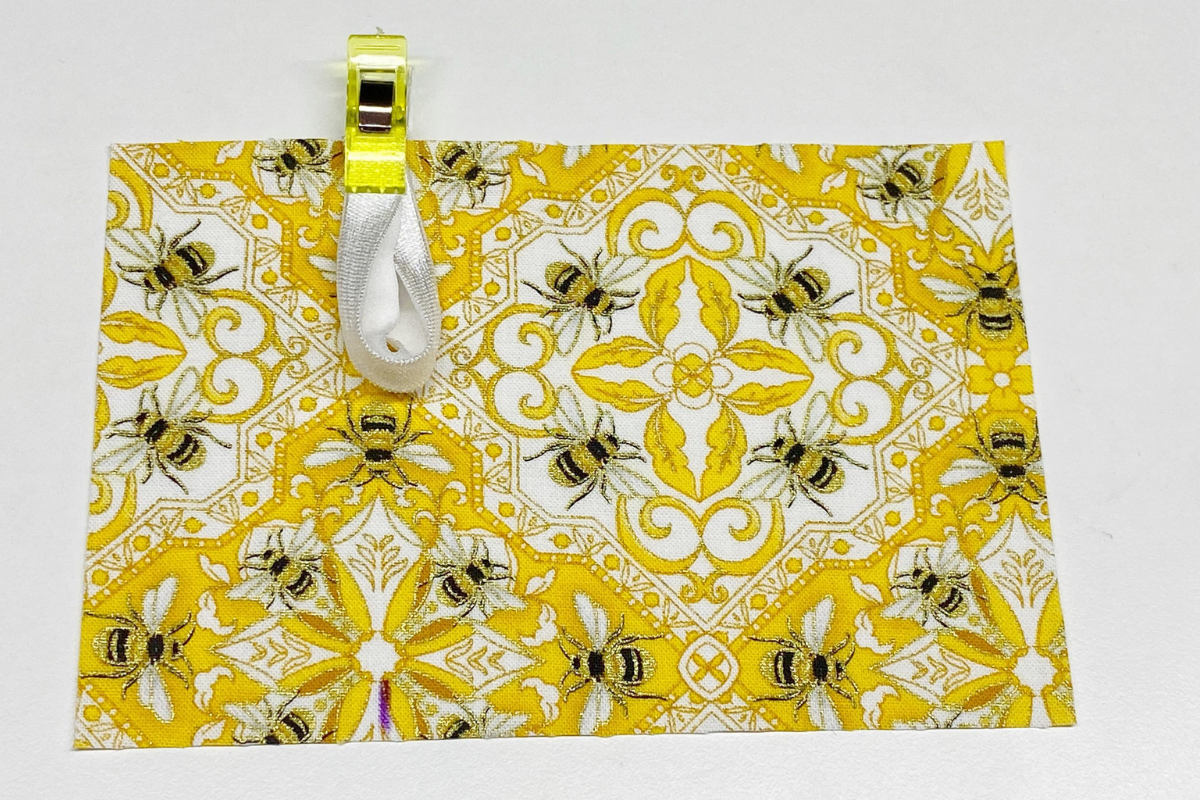
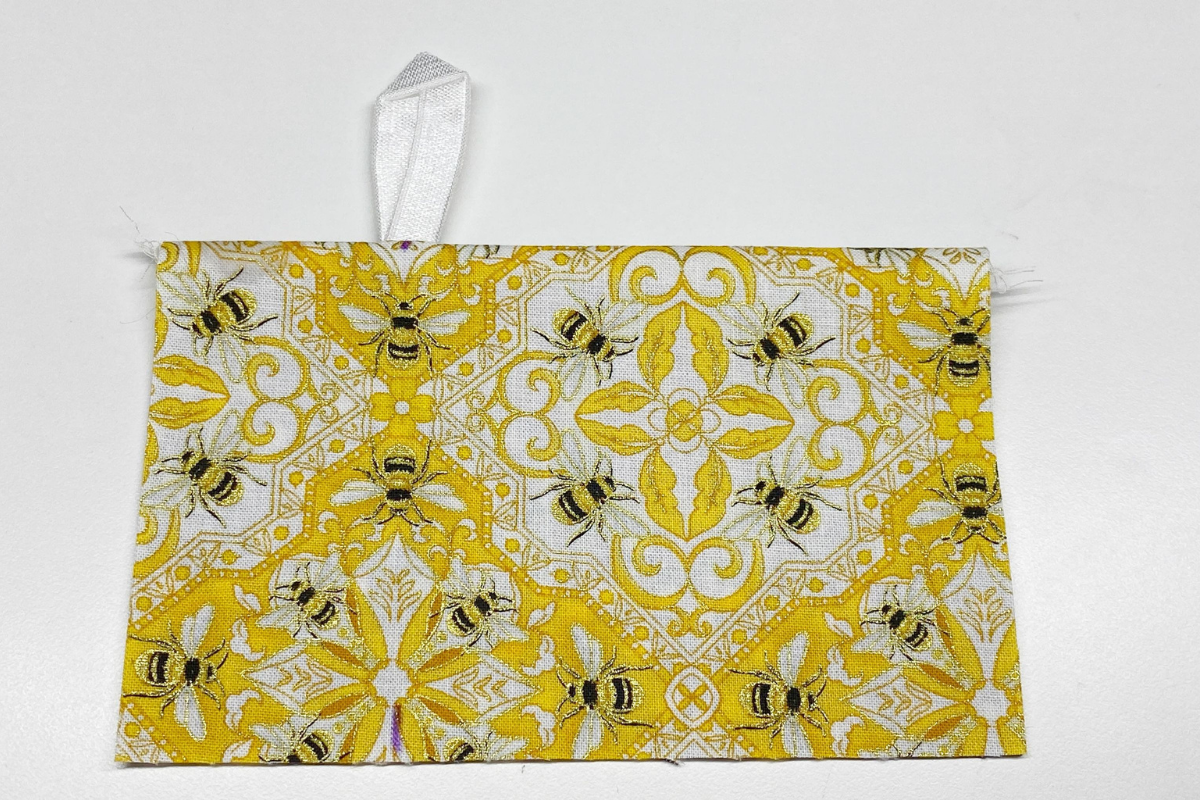
- With the outside material right side up mark 1-3/4″ from the left side at the top and bottom.

- Place the Main Loop with the two raw edges on the top mark of the Outside material.
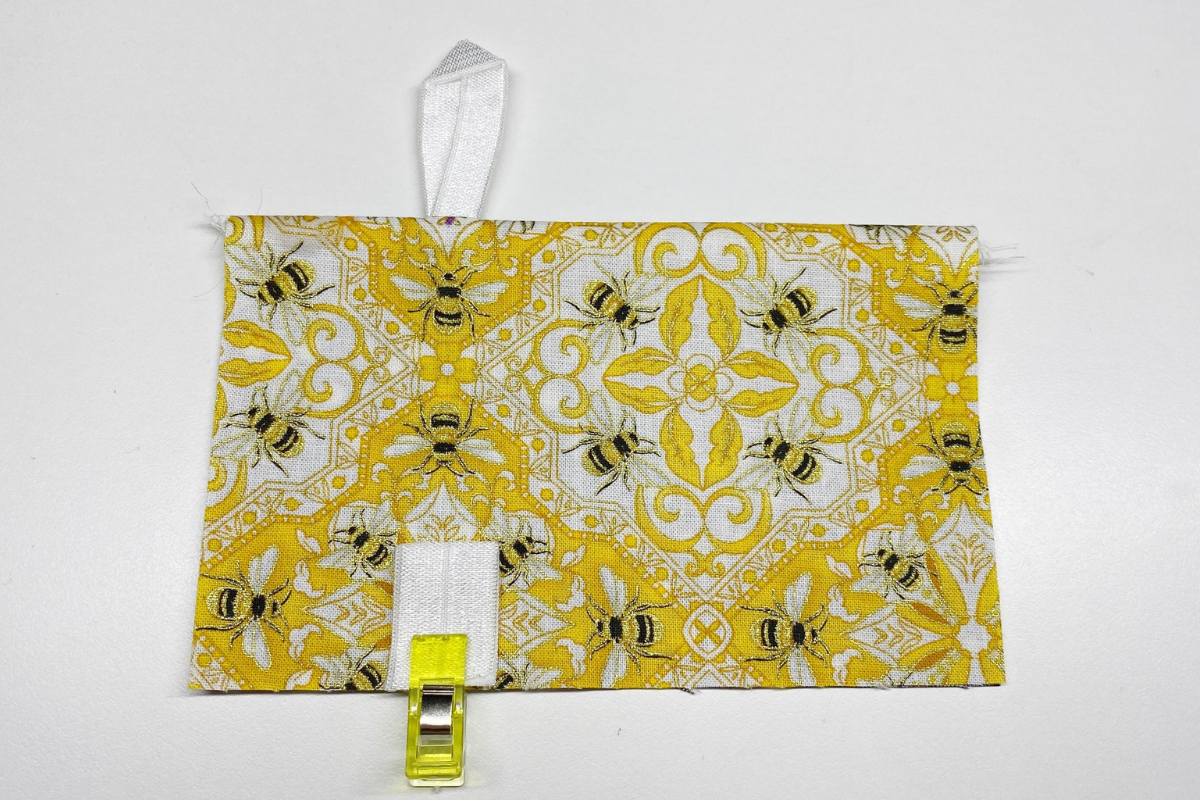
- Place the Lining right side together with the Outside and transfer the clip securing the elastic. Serge the top seam cutting off about 1/8″.

- Press seam flat and then press open exposing the elastic.
- Place the raw edges of the 2″ Key Ring Loop over the lower mark and clip through all layers.
- Fold the Outside/Lining combo in half widthwise and align the side and bottom raw edges. Transfer the lower clip securing the 2″ Key Ring Loop and clip the sides/bottom to secure all the layers together and serge the sides and bottom cutting off about 1/8″.

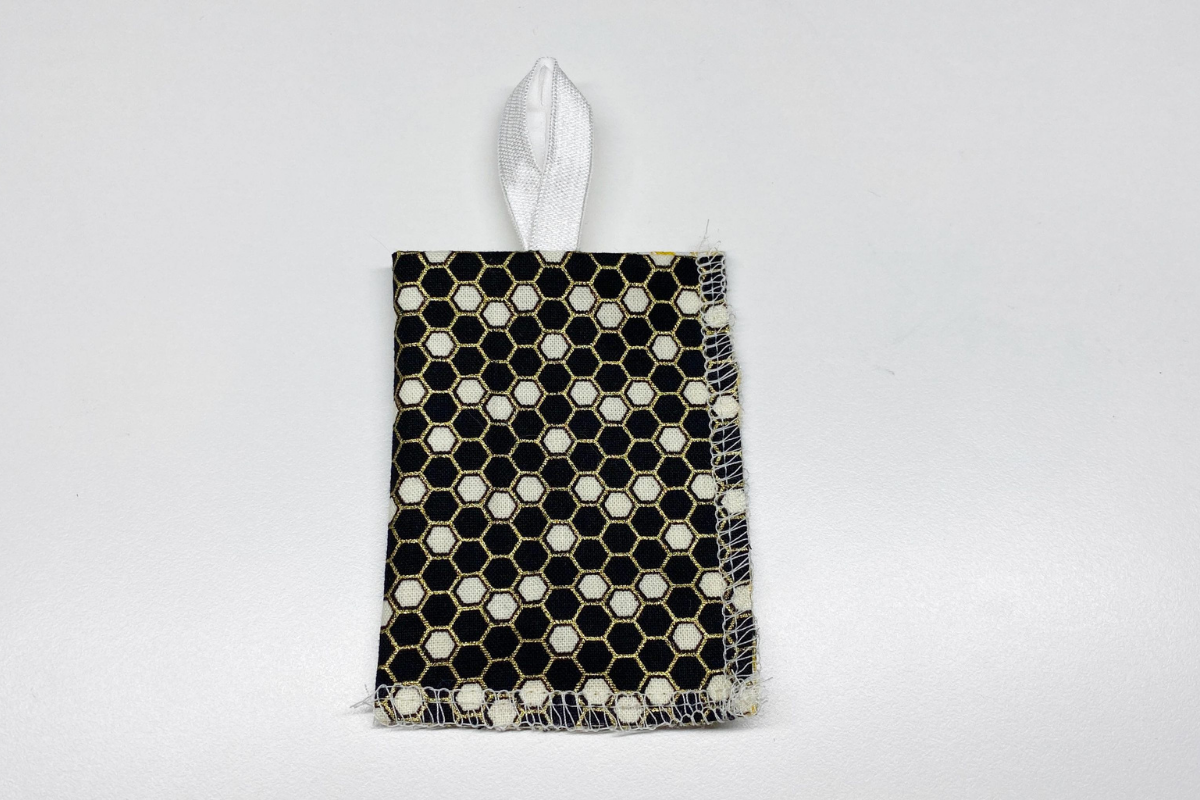
- Clip threads and turn case right side out exposing the elastic pieces.
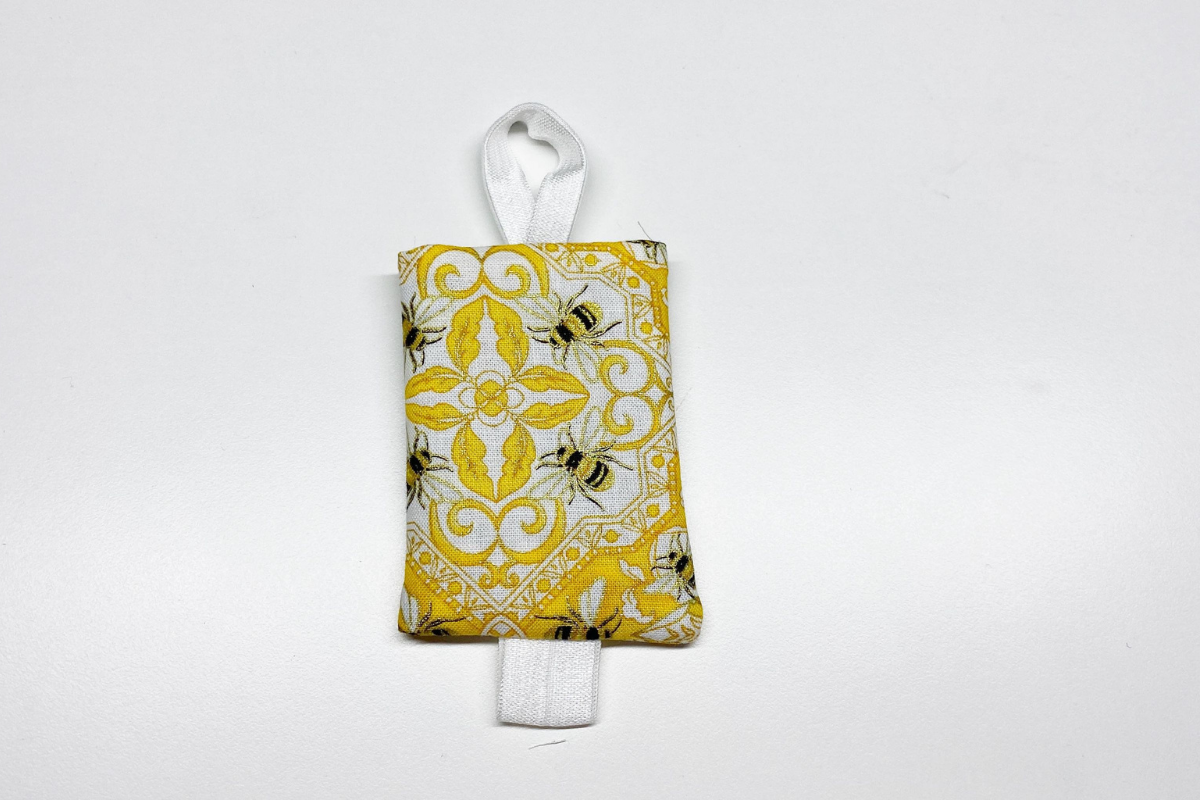
- Slip the Key Ring inside the lower elastic loop.

- Slip the hand sanitizer inside the top opening and wrap the Main Loop around the cap of the hand sanitizer. This loop wrapped around the cap will hold it in place during use.
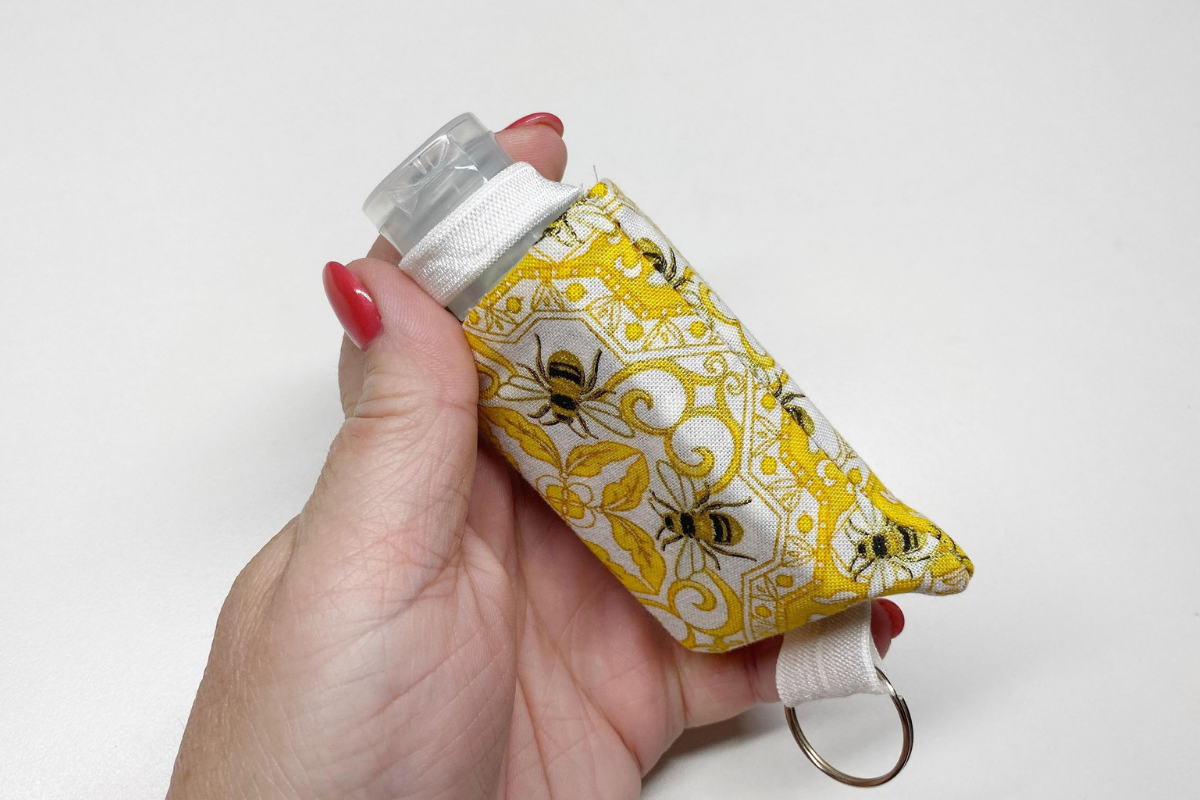
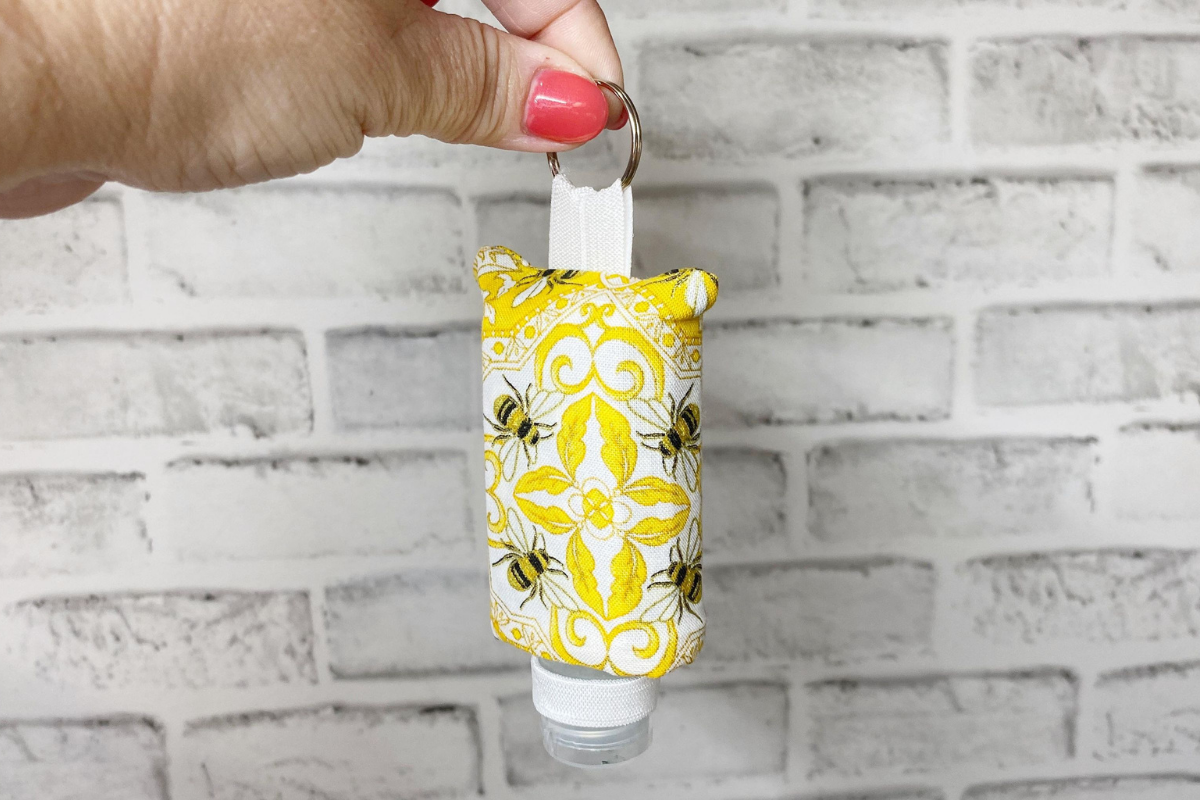
- Add the hand sanitizer to your keys and off you go!
I hope you enjoyed this easy serger project and enjoy making all of my easy serger projects! When you make yours, please snap a shot and tag me @SookieSews and @BERNINAUSA!!
Full Article – https://weallsew.com/how-to-make-a-hand-sanitizer-case/