
01 May The Essential Measurements for Sewing Pants
Fit is everything when it comes to sewing your pants. Getting it slightly off can make a big difference between the pair that lives in the drawer and the pair you wear all the time.
Getting it just right will ensure you take careful and accurate measurements before you cut the first piece of material. It doesn’t take up much time, and once you understand how to measure correctly, you’ll be able to measure efficiently and quickly. Plus, you only have to do it once.
A few quick tips before you start:
- Ideally, it would help if you took the measurements in your underwear, leggings, or close-fitting clothing.
- Make sure the tape is held level across your body; it can hinder your accuracy if it is tilted.
- Don’t allow the tape to become too slack or tight. Doing this will help to ensure you have an accurate number.
- Although it is possible to take your own measurements, you will get more accurate numbers if you have someone to help you. As a result, you stand naturally with your arms down and facing straight forward.
- You will need a flexible measuring tape, a narrow elastic for marking your waist, and a way to write down your measurements.
Bear in mind that each time you are working with a new pattern, it’s essential for you to retake your measurements. This allows you to compare your measurements to the size chart and the finished measurement chart.
Marking your natural waist
- Use the narrow elastic and tie it around your waist; make sure it’s not too tight.
- Bend and move around a little bit to allow it to settle on your natural waistline.
You will find that with a pear or hourglass-shaped waist, it will be easier to find. If your body is more uniform, than it can be tougher to locate. If this is the case, it’s best to place the elastic between your lowest rib and hip bones.

Measuring Your Hips
The number one measurement you need when sewing pants is the full hip. To do this, you should:
- Place the tape measure loosely around the largest part of your behind, make sure it is tight enough so that it stays still and doesn’t fall. (Your hip bones may not be the largest part of your hip)
- Record this number.
- Choose the appropriate size from the size chart using the measurement you have taken.
- If your waist measurement is larger than your hip, you should choose your size from this measurement instead.
- If you have a curvier figure, you may want to take your seated hip measurement too. Once you have the tape measure at the largest point, sit down and jot this number down.

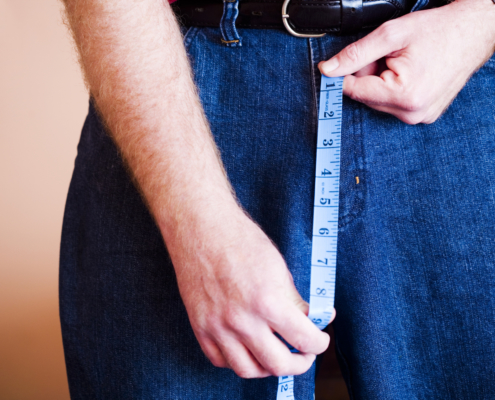
Measuring Your Waist
- Once you’ve chosen your size on the size chart, check which size your waist puts you in for comparison.
- Measure your waist where the elastic is located. You should be able to fit one finger comfortably between the tape and your skin and breathe easily.
- Record this number.
- Think about blending your sizes if your waist measurement puts you higher than your hip measurement, by tracing the larger size at the waist and add it to the smaller size of hip.
Measure The Rise
- Put the tape measure between your legs, starting at the waist elastic at the front and ending at the back. This is your full rise measurement.
- Separate your full rise measurement into front and back rise numbers. This will enable you to compare them to the rise numbers in the pattern charts. To do this you need to measure front rise along your groin curve from your waist elastic to the inseam, you then subtract from your full rise to get back rise.
Measuring Your Inseam
- Place the measuring tape where your groin cross with your inseam. (It is best to measure your inseam with leggings for more accurate results)
- Hold, tape, or pin the measuring tape in this spot, then make sure you stand up straight to take this measurement.
- If you’re not using an assistant, use a mirror to look at the bottom of the tape.
- Or, take the measurement the opposite way, hang the tape where you want the hem to sit, and read the measurement at your groin.
- For the hem, there are different points to measure; ankle length at the ankle bone, long at the instep, cropped is midcalf, and floor-length measure to the floor.
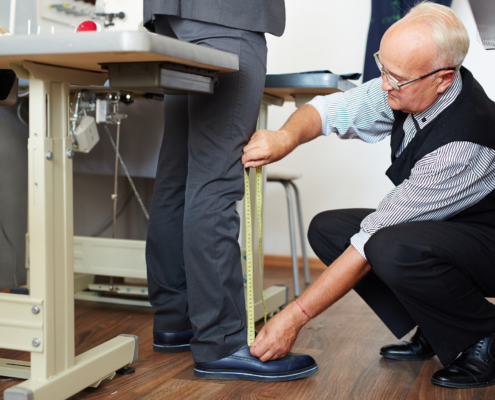
Measuring The Outseam
- Measuring along the outside of the pants from the natural waist elastic to the hem.
- Once you have this measurement and the inseam, compare the measurement t to the pattern chart that you are following.
- Decide whether you need to add or subtract length from the pattern.